TIL: How to Setup Netlify, Gitlab And Sentry
I will show you in this post how you can integrate Gitlab, Netlify and Sentry. I may do a more detailed post in the future.
GitLab -> Sentry
To connect Gitlab and Sentry follow this guide. Then add the repos you want to monitor in Sentry. In my case, it is the Bookmarkey GUI.
Netlify -> GitLab
This integration is pretty simple just go through the normal Netlify setup process to add a new site. You can read more about that here and here.
Netlify -> Sentry
Finally, how can we connect Netlify and Sentry?
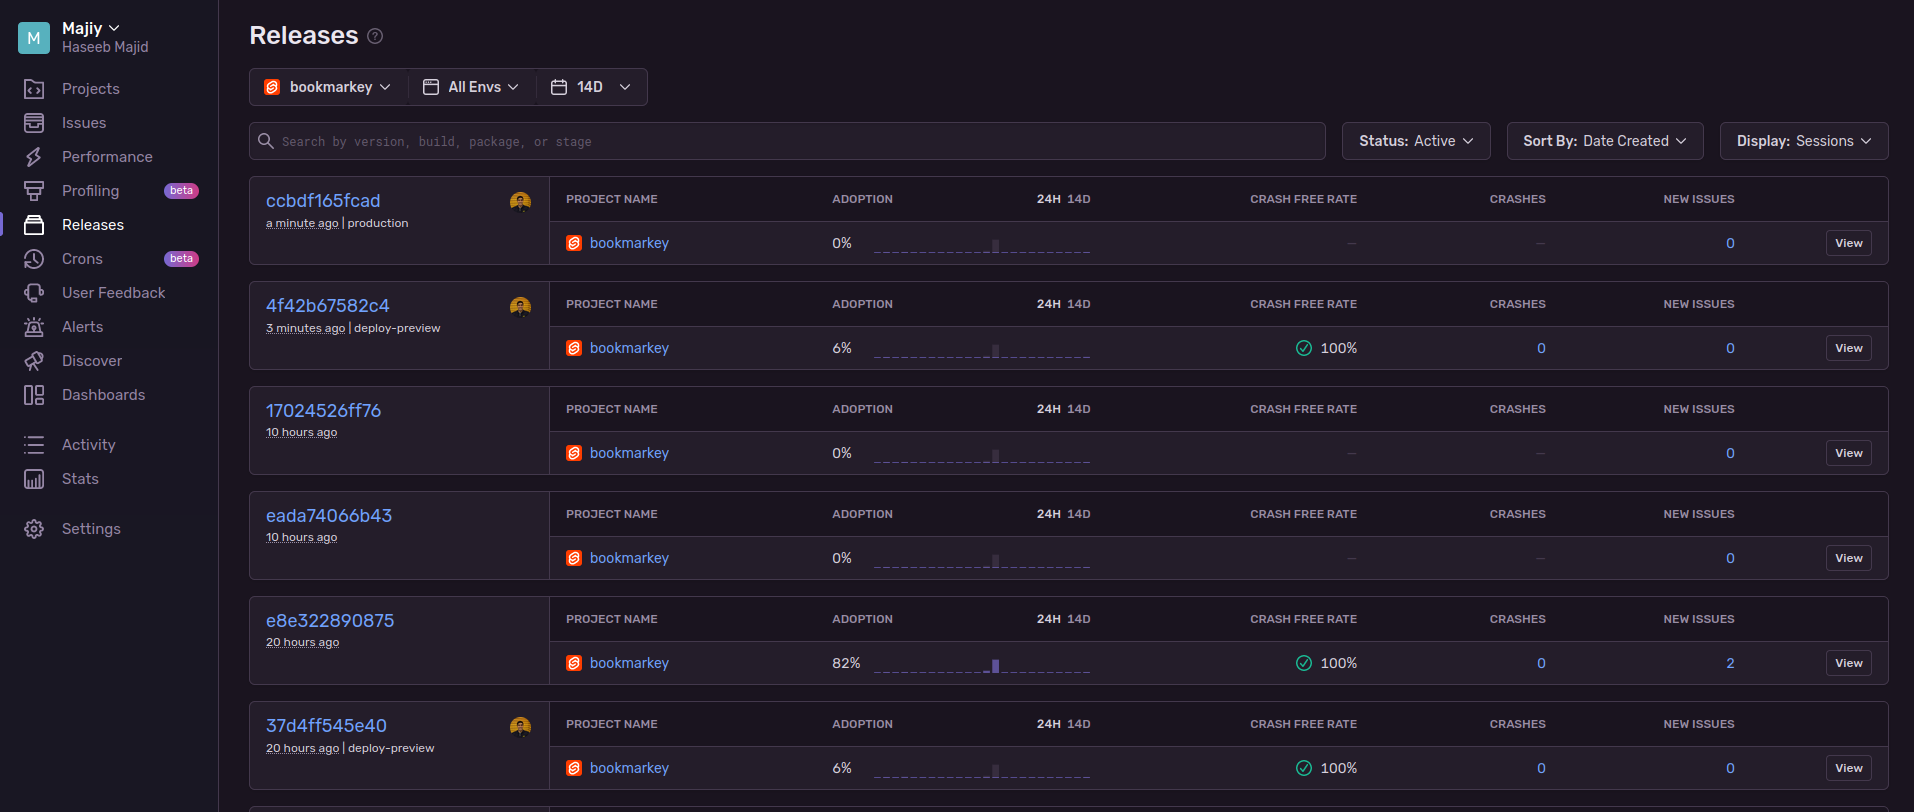
First, why do we want to do this? It is so we can link specific releases with Netlify deploys. Such as if it was a deploy preview or a deploy to production.
To do this we will be using the sentry-netlify-build-plugin 1.
First, let’s follow the guide in the README.
We can install this via the GUI in Netlify however I prefer to keep as much of
my config in code. So we will use a netlify.toml file. Append the following:
[[plugins]]
package = "@sentry/netlify-build-plugin"

[plugins.inputs]
sentryOrg = "majiy"
sentryProject = "bookmarkey"
sentryRepository = "HaseebMajid Apps / Bookmarkey / gui"
Update the specific sentry-related variables to match your project.
Remember since SENTRY_AUTH_TOKEN is a secret variable, created when we set up the internal integration with Netlify,
you should add that to the Netlify GUI directly.
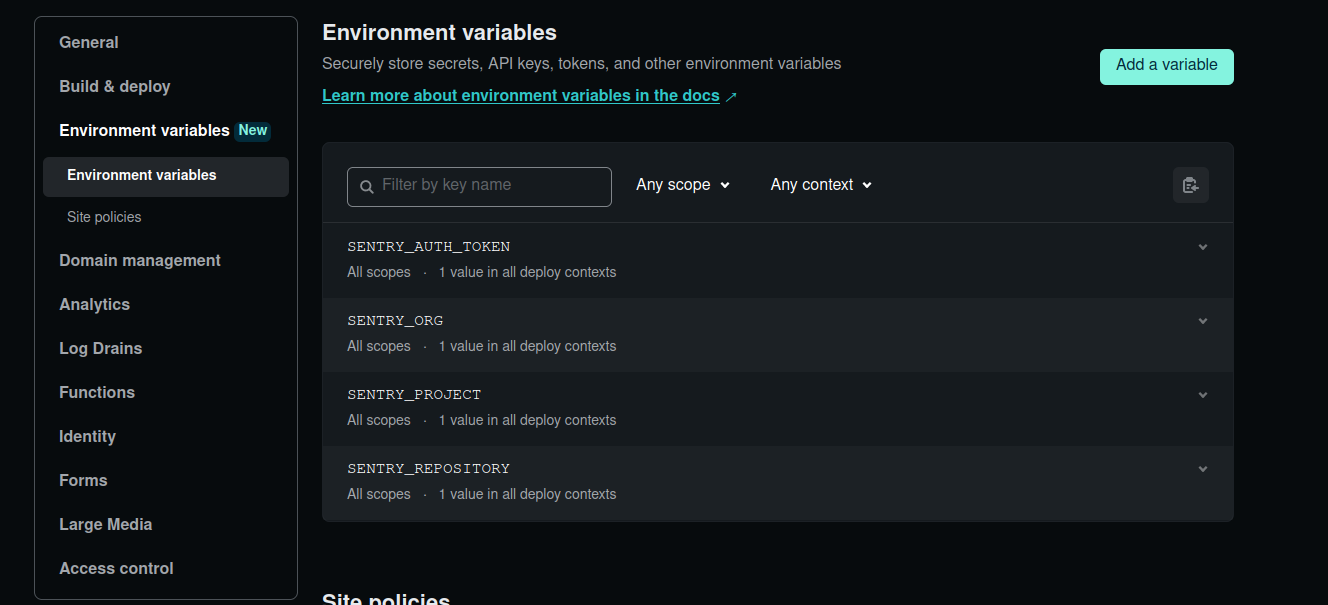
Netlify Build Env Vars
All the other sentry variables were pre-populated. I only addedSENTRY_AUTH_TOKEN via the Netlify GUI.Sentry Repository Name
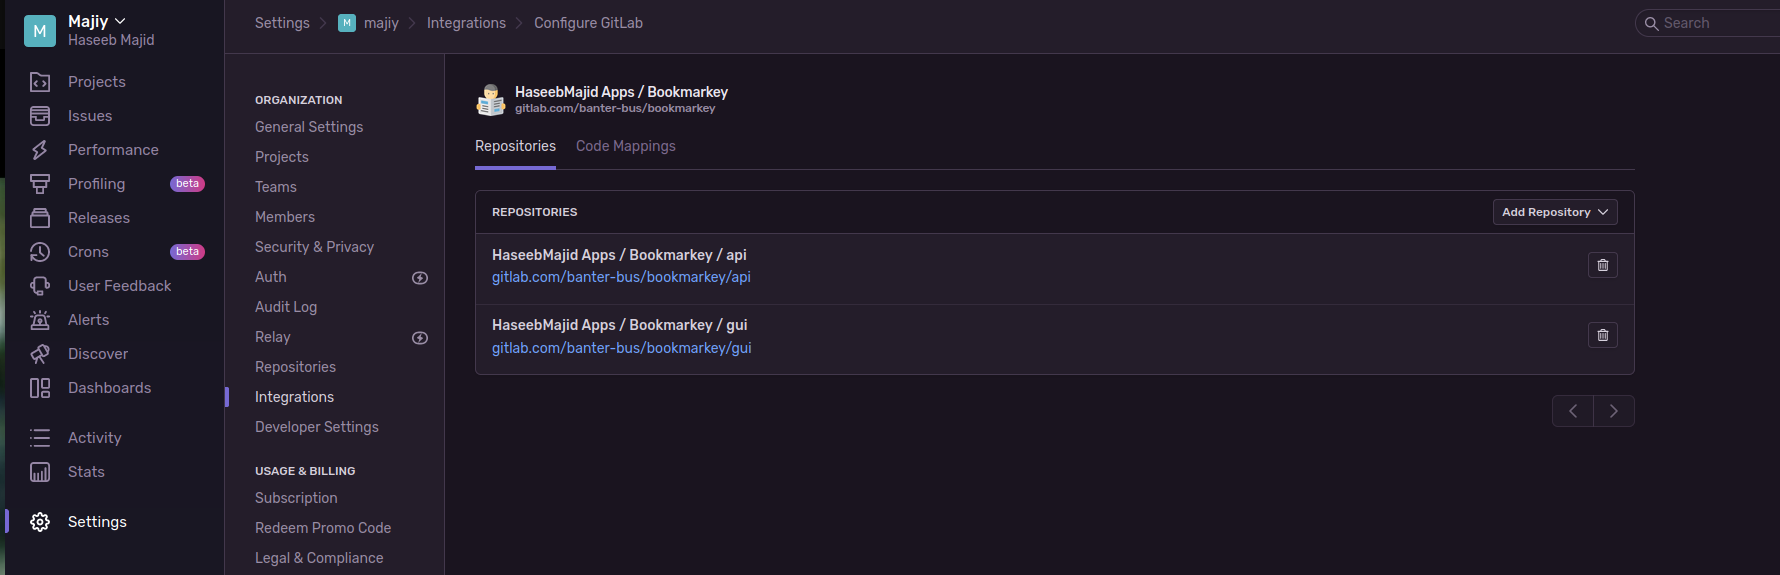
Note the name of the repository is not the Git URL but rather the name of the project shown in your Sentry integration (shown in the above photo).
You can find this name by going to Settings > Repositories.
Then copy the name of the project i.e. HaseebMajid Apps / Bookmarkey / gui.
It is not the hyperlink (gitlab.com/banter-bus/bookmarkey/gui) [^2].